Room temperature must be 27 degrees. Do not put the device in a cold room. Temperature fluctuation between 37-38 is normal.
|
|
|
|
|
|
|
|
|
|
|
|
|
|
|
|
|
|
|

● • The machine fan must always work. check the fan daily and make sure that it works properly.
• Turning the eggs cannot be seen easily. To make sure that the gearbox works, put your hand on it to feel its shake and warmth.
• Do not manipulate the electronic system of the device.
• Don’t open the machine door during the incubation period (the last 3 days), especially after a number of chicks have hatched.
• Do not install the device outside, in direct sunlight or wind.
• The ideal temperature of the atmosphere is 28 degrees
Operating the layer Cocks is very simple but to succeed in the hatching operation, you must first read the manual carefully.
• Before putting the eggs into the machine, it should work for 1-2 days to make sure that every part works correctly.
• If you do not have enough experience to use the machine, it is recommended not to use expensive eggs. Start with some cheap ones.
• The ideal temperature of the place of the machine is between 23-27 degrees, otherwise the output decreases.
• When using the air conditioning systems, make sure that the machine is not exposed to the warm or cold wind.
• Closed and poorly ventilated spaces are not recommended because they reduce the efficiency of the device.
• Please notice that the ventilation channels on and next to the machine must be open all the time.
• The ideal atmospheric humidity is between 50-55%.
3 issues are involved in this process:
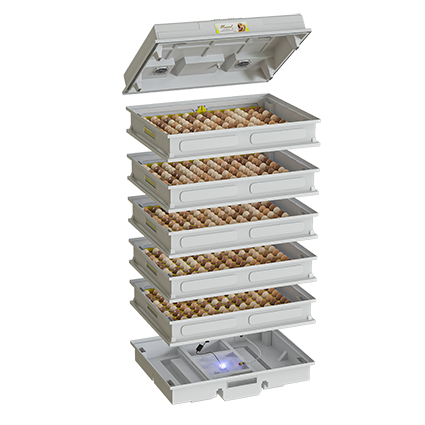
1- Egg incubator
2- Eggs
3- Operator
• Do not use old eggs. The maximum storage time for eggs is 7 days. Also, eggs must be kept in special conditions.
• Do not store eggs in the refrigerator. The best temperature is 18 degrees and the best humidity is 55%. Store them in dark places.
• The ambient temperature should not fluctuate more than 4 degrees
• If the temperature fluctuation is more than 4 degrees, the output is reduced. Also, pay attention to day and night temperatures.
• Before putting the eggs in the machine, put them in a warm place (around 25 degrees) for a few hours to prevent any shock.
• To put the eggs in the machine, make sure that the eggs are standing on their heads.
• Do not wash the eggs; clean them with a dry brush.
• Do not use eggs that are too big or too small or with unusual shapes.
• On the 7th and 14th night, candle the eggs and remove the transparent eggs from the machine because they are without embryos and will contaminate the rest of the eggs.
• It is suggested to break the failed eggs after each cycle and check the reason.
• Note that if the eggs still have albumens and yolks after 21 days, it means that they have no sperm at all.
• Do not use chemicals to clean the device.
The hatching process is divided into 2 stages:
Setter and hatch.
• Throughout the setter period, the egg is on the tray and rotates. During this period of time, the chicks grow inside the eggs.
• The ideal temperature is 37.7 degrees and the ideal humidity is 55-65%.
• During the incubation period, the chick inside the egg is completely grown.
• The eggs should be placed on the hatching basket During this period.
• The incubation period for chicken eggs is 3 days.
• Take out the eggs slowly, put them in a separate container, then take the trays out of the machine, place the eggs on the bottom net of the basket and close the machine door.
To detect fertilized eggs and also to ensure the growth of the embryo, perform egg candling on the 7th and 14th night.
1- Do the egg candling in the dark room.
2- Do the egg candling in a warm room to prevent any shock.
3- Make sure that the egg is not exposed to intense shaking during the candling process.
4- Candle the egg in the shortest possible time.
5- Remove the transparent eggs from the machine, otherwise the rest of the eggs will be contaminated
• Looking through the eggs on the 7th night, you must see blood vessels and black spots. Otherwise remove the transparent eggs.
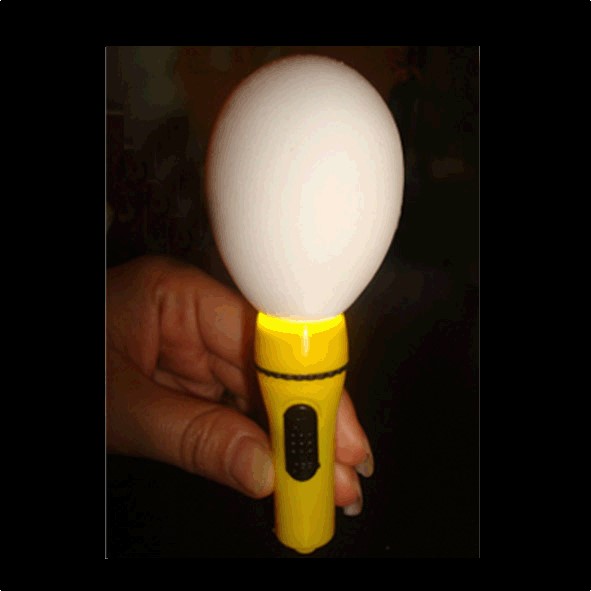
• On the 14th nigh, if you observe the eggs, you must see most of the inside dark. Otherwise remove the transparent eggs again.
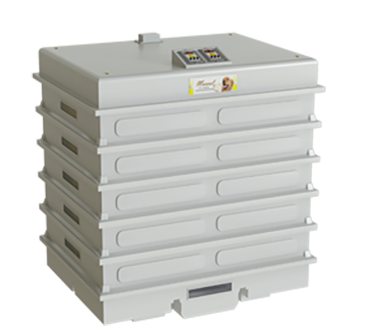
• Body: It is made of ABS with a 3 mm thick insulating layer.
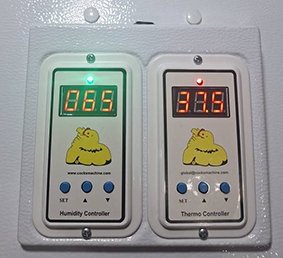
• Controllers: A digital thermos controller with an accuracy of one tenth of a degree and a digital humidity controller with one percent accuracy
• When the indoor temperature is lower than the set amount the red light of the thermostat will light up and when the temperature reaches the set value the red light will be off.
The machine is set at the factory. Do not change the setting
3- Fan
• If you use one basket, set the fan speed switch to ”I”
• If you use two or three baskets, set the fan speed switch to ”o”
• If you use four or five baskets, set the fan speed switch to ”lI”
Failure to comply with the set fan speed causes the egg shell to dry and the chickens to suffocate
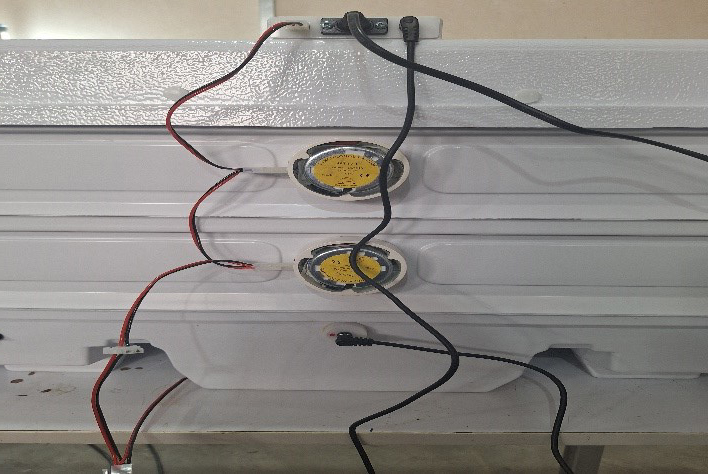
4- Gearboxes : The red lights indicate the gearbox function.
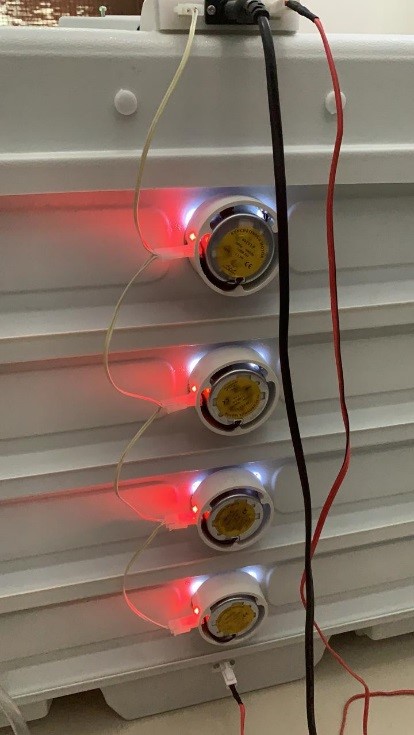
Red lights are showing gearboxes operation.
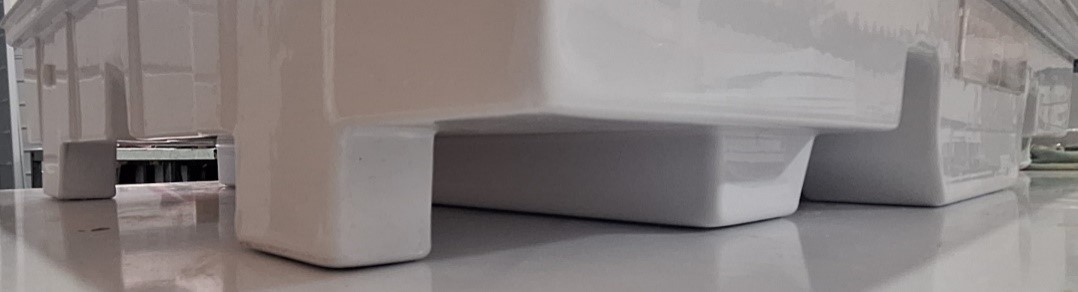
5- Water container :Be sure to place the water container on a flat surface
• Avoid passing the water hose under the sun.
• Make sure the float is working properly before stacking the baskets.
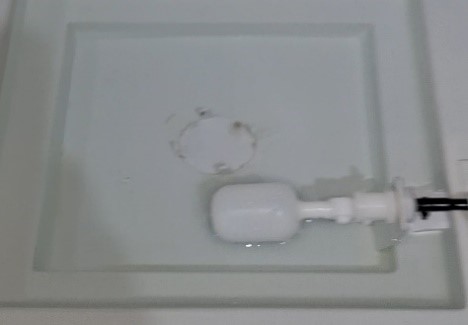
Please do not touch the floating settings except for emergencies
Note:
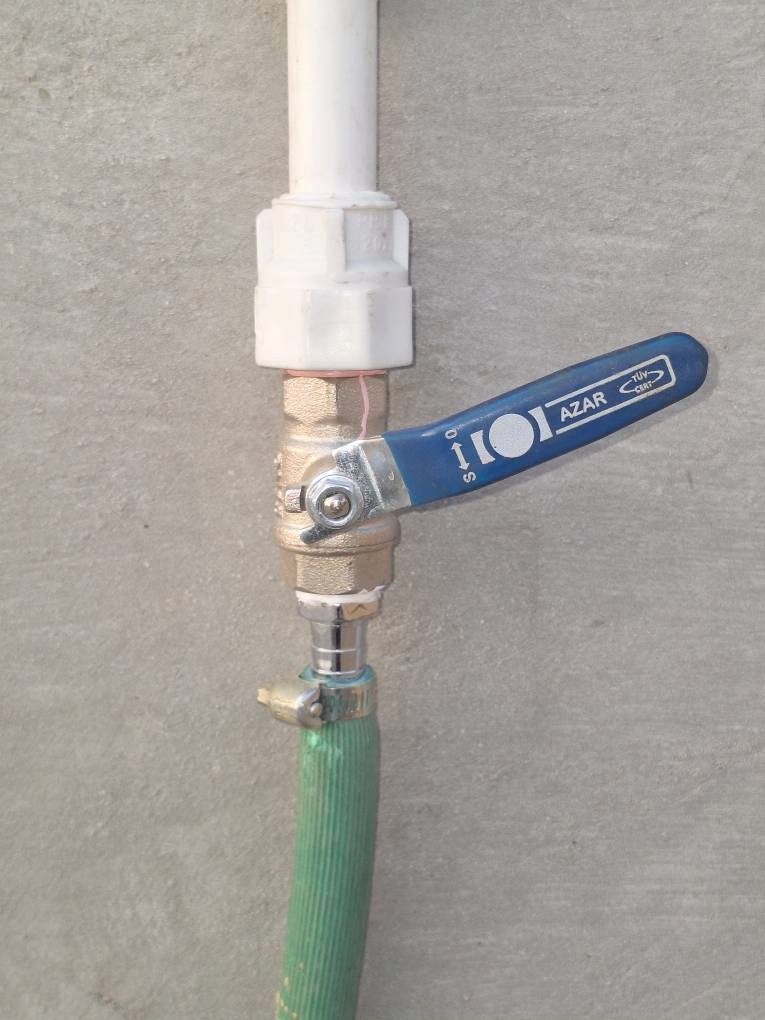
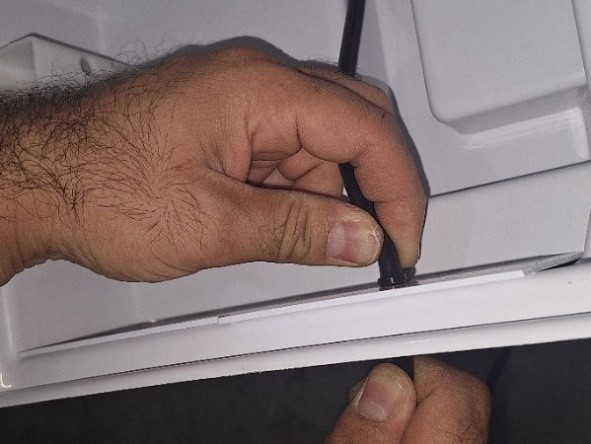
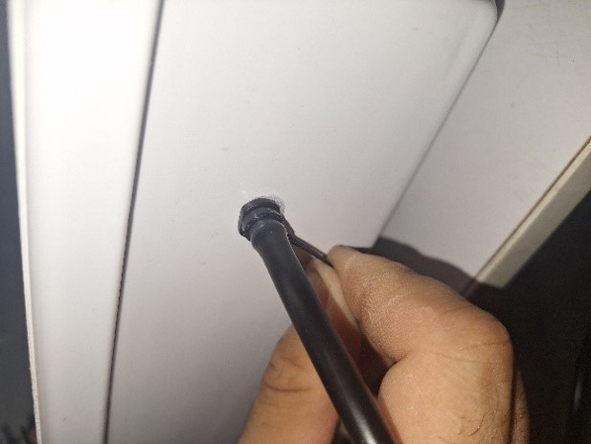
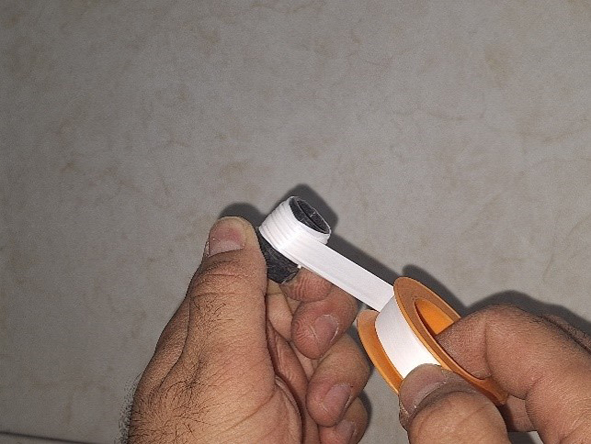
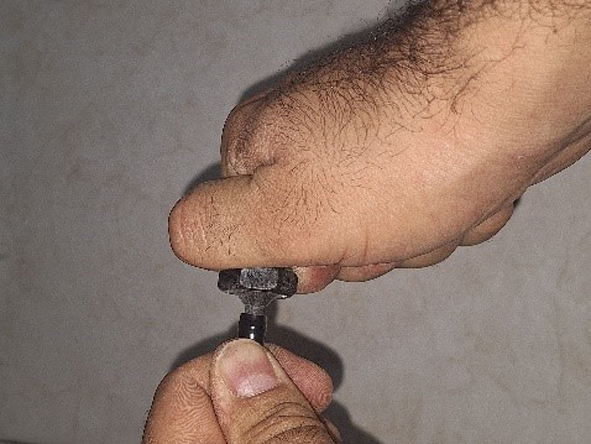
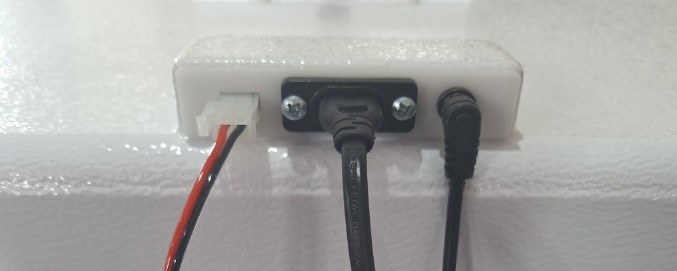
Install the water connections as shown below:
How to set the temperature & humidity
Humidity adjustment method :
 Hold the set button for a few seconds;
Adjust the humidity with ▲ / ▼
Press the "set" button to save and exit.
The set number for the chicken egg is 65%
Hold the set button for a few seconds;
Adjust the humidity with ▲ / ▼
Press the "set" button to save and exit.
The set number for the chicken egg is 65%
Temperature adjustment method:
Hold the "set" button for a few seconds ;
Adjust third digit with ▼ button
press the ▲ button and adjust the middle number with ▼ button .
Press the ▲ button again to adjust the first number .
Press the "set" button to save and exit
The set number for the chicken egg is 37.5
All the settings have been done in the factory, do not change the setting.
- Place the trays in the machine and connect the gearbox and humidifier wire.
• Make sure the shelves are firmly in place.
• Connect the electricity power and turn the machine on.
• All digital controllers must be on.
• All the gearbox signal lights must be on.
• The red light of the heater must be on and the fan should be working.
• Then put the eggs on the head and close the lid of the machine and make sure that no air enters it.
• The ideal temperature inside the device is 37.5 to 37.7 degrees and the ideal humidity inside the device is 55 to 65 percent.
• On the 7th and 14th nights do the candling, considering all the important points.
• If you see Steam behind the glass of the trays, it means that cold air has entered the machine and the trays are not fixed properly.
• This device cannot work in a cold place.
• To install the device in a room with a temperature of more than 28 degrees, use an external thermometer to ensure that the room temperature is suitable.
• Pay attention to temperature fluctuation at night. Sometimes it is very cold at night.
Lack of attention to these points will cause a severe reduction in efficiency
• Take out the eggs slowly, put them in a separate container, then take the trays out of the machine, place the eggs on the bottom net of the basket and close the machine door.
| Poultry | Period of incubation |
|---|---|
| chicken | 21 |
| Peacock | 28 |
| Ostrich | 42 |
| Goose | 28-31 |
| Swan | 30 |
| Pigeon | 16-18 |
| Pheasant | 20-24 |
| Quail | 17-18 |
| Partridge | 23-25 |


International Customers & agents
UAE- Dubai
 Mr. Michael : 00971-50-7580917
[email protected]

Copyright ©2006 cocksmachine.com
 FA
FA EN
EN FR
FR AR
AR